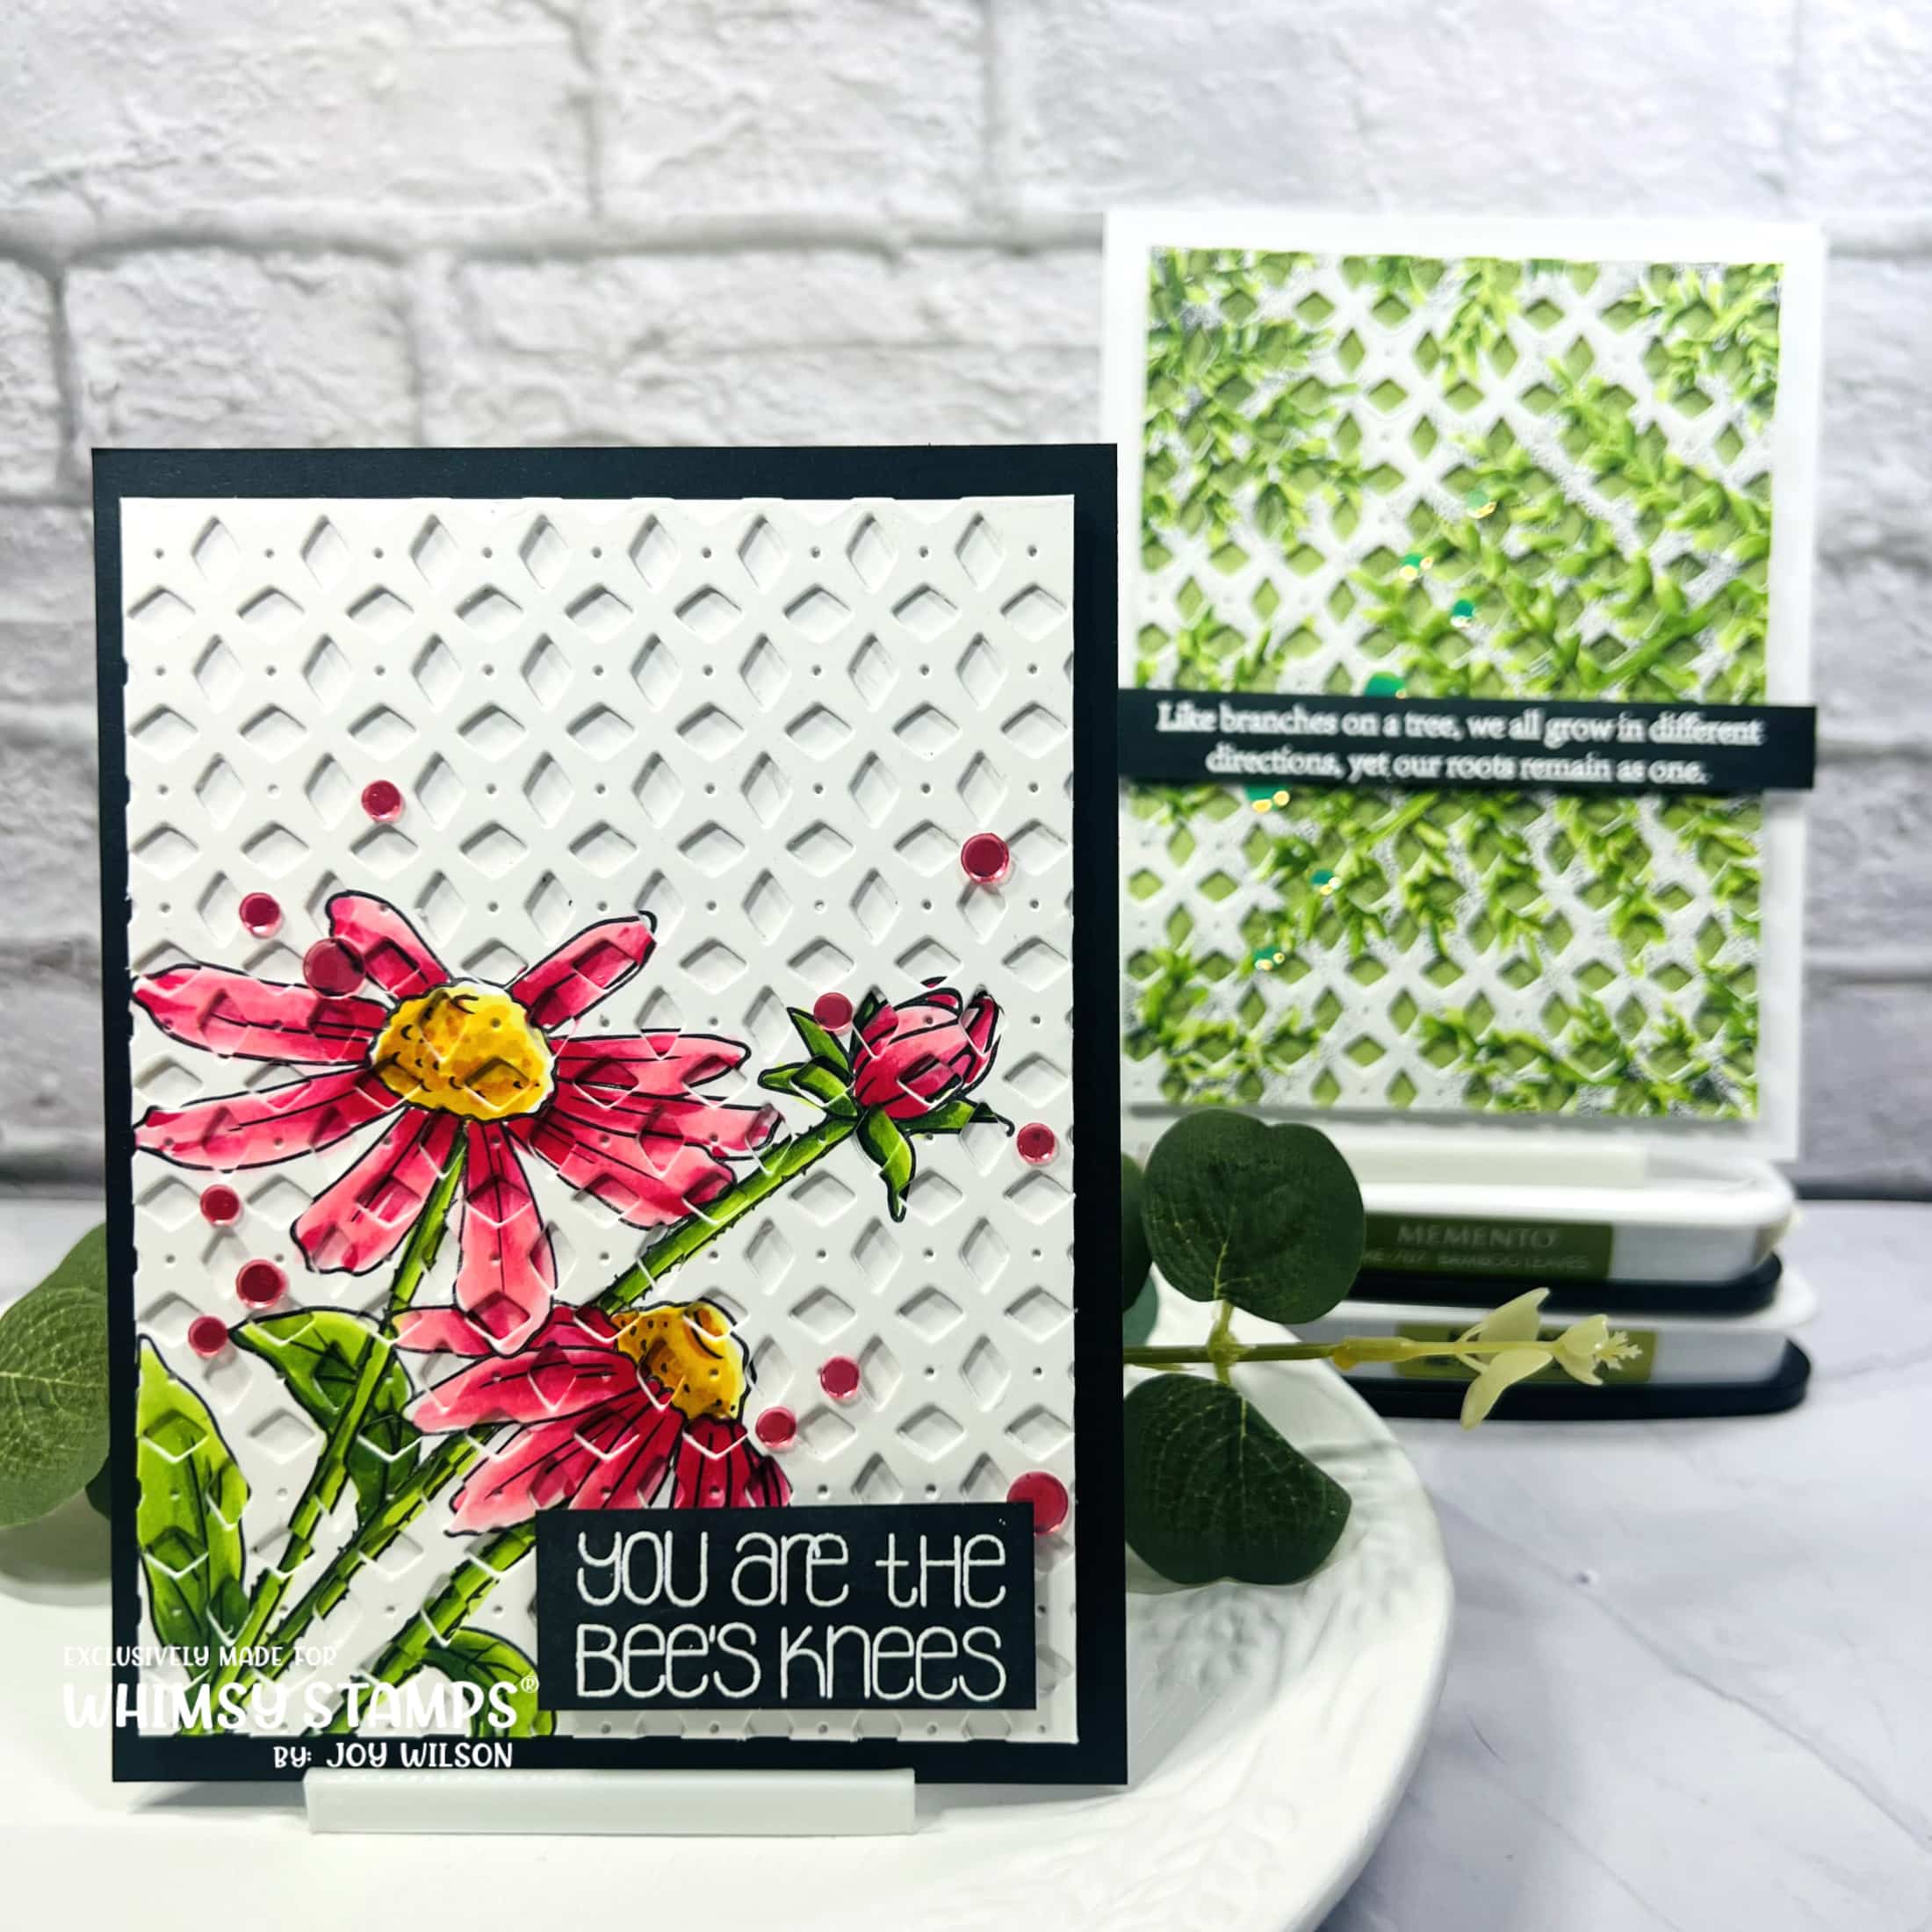
Hello my friends! Have you heard of shadow stamping? It’s so cool and I can’t wait to share it with you. I used some of my favorite Whimsy Stamps products to demonstrate the techniques. I used one stamp that is line art made for coloring, and the other is a background stamp so that you will know that both kinds of stamps can be used and all skill levels can do this. Trust me this is fun and easy!!!
Both stamps have been previously released and are ready to go in the shop should you want to pick them up!

For this first card I went with the Bees Knees stamp and stamped it onto two pieces of smooth cardstock. The key to this technique is contrast and dimension, so I chose bold colors and colored each panel the same. I then die cut one panel with the Lattice A2 die and backed it with another die cut 120 pound panel. I found that it was easiest to adhere these panels using a spray adhesive. but you could use wet glue if you wanted to. It is very important to line up the die cut panel perfectly with second stamped panel so that the flowers line up. Using the layered panel creates the dimension, another way to do this is using foam tape, but in my opinion would be tedious. Next I added an embossed sentiment popped up on foam to create even more layers and shadows.
Just a tip: Use a stamping positioning tool so that your images are perfectly stamped and lined up.
Now let’s move on to the next card. I repeated the same process, but used the Fern Background stamp for this one. I stamped both layers in black dye ink and colored one with Copics. When I auditioned my design, I felt like there wasn’t enough contrast between the white panel and the Copic colored panel. To fix this I blended two green dye inks to create the depth. Just be aware that not all dye inks are compatible with one another. I find that if you stamp with Memento you are the safest in applying the blending. If you don’t use Memento make sure your panel is thoroughly dry to prevent smearing. After the blending was complete then I applied the die cut layers.

I still wasn’t convinced there was enough contrast in the layers, so I added some white gel pen highlights to the leaves and a black sentiment strip stamped with the Seasonal Trees set. Now you know no card of mine is complete without a little shimmer and shine so I added matching Confetti to each of them.
Well, friends, I hope you’re feeling inspired from this post! Tag me on Instagram if you make a project using this as inspiration!! I’d love to see how you made it your own!! Xx, Joy
Thanks for using my affiliate links! You all are the BEST! Using an affiliate link in this post above or down below costs you nothing, but it gives me a teeny percentage of your sale to buy more crafty goodies to continue to share card tutorials with YOU! So, thank YOU! Xx, Joy

You can connect with me here:
IG @joywilsonink
Pinterest
Youtube
Until next time keep crafting!!!
