
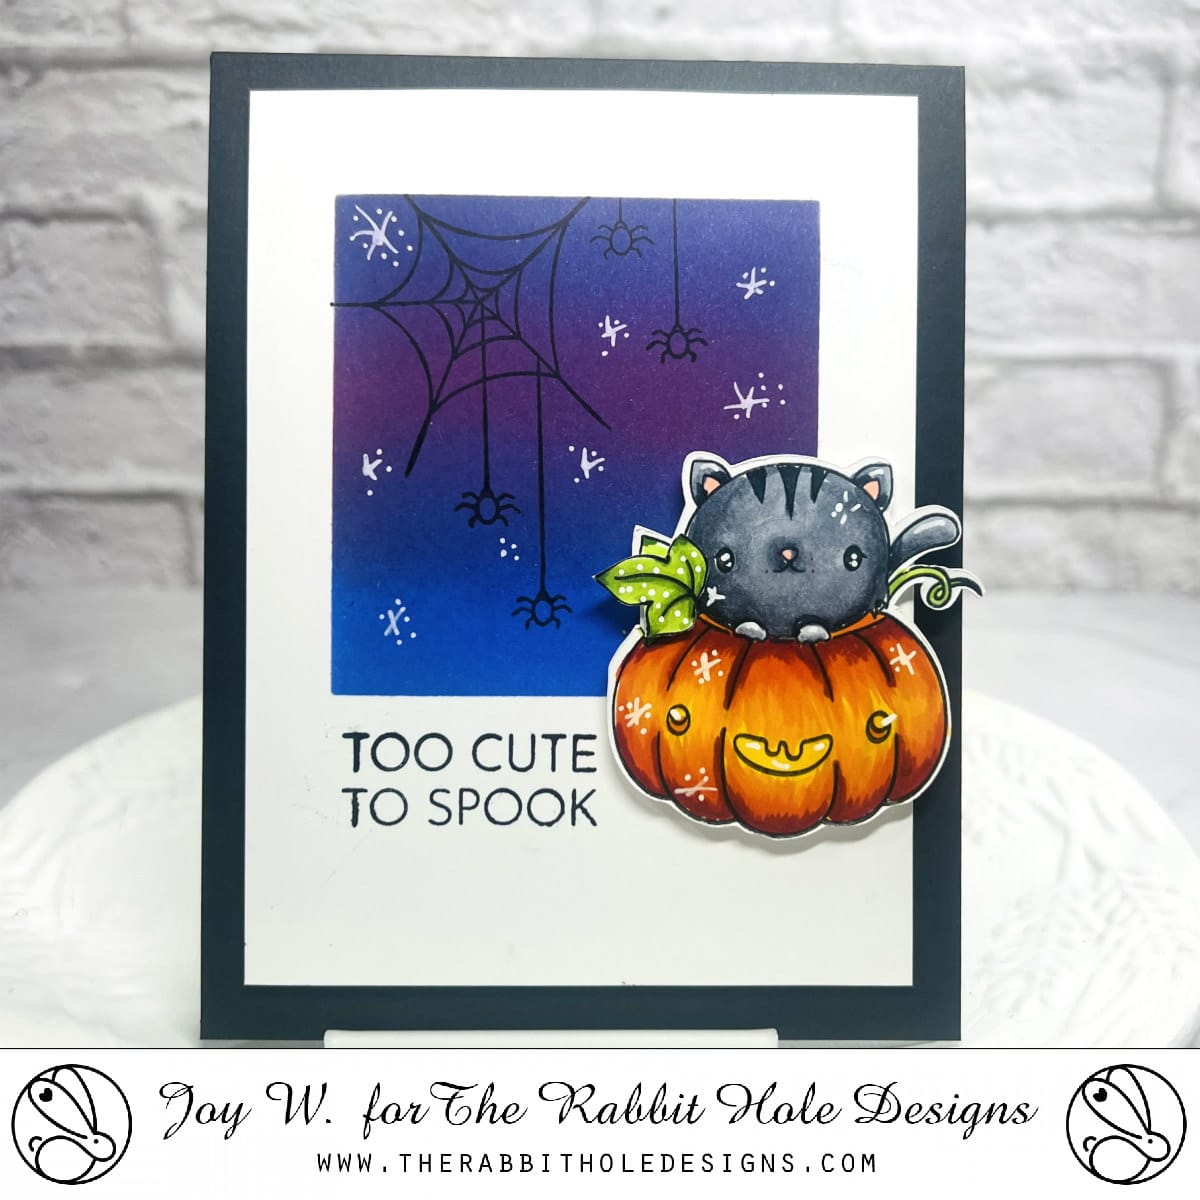
Hello there! I am back with another Meowgical card with The Rabbit Hole Designs. This time I created a picture frame using a masking technique to show off this cute kitty. I’m telling you this is so easy. Stay tuned!

I die cut a square into an A2 card panel to create the mask. Next I laid it on top of another A2 panel and blended Distress Inks through it to create a night sky. Leaving the mask in place, I then stamped the spider web using Versafine Clair Nocturn Ink and then removed the mask. Next I stamped the sentiment off set to the left of where the pumpkin is. I like a wide border, so I trimmed the panel down to 3.75 x 5 inches and mounted it on foam tap before adhering to the black card base. Next I stamped the cute kitty from Meowgical with Memento Ink and colored it with Copics. I fussy cut this image out, but there is a coordinating die that you can purchase separately if you wish.
You can find more inspiration at the following links:
Shop: The Rabbit Hole Designs
Instagram
The Rabbit Hole Designs Fan Page
Youtube
Well, friends, I hope you’re feeling inspired from this post! Tag me on Instagram if you make a project using this as inspiration!! I’d love to see how you made it your own!! Xx, Joy
Thanks for using my affiliate links! You all are the BEST! Using an affiliate link in this post above or down below costs you nothing, but it gives me a teeny percentage of your sale to buy more crafty goodies to continue to share card tutorials with YOU! So, thank YOU! Xx, Joy.

You can connect with me here:
IG @joywilsonink
Pinterest
Youtube
Until next time keep crafting!!!